I’m sure you’ve heard of Canva.
However, I don’t think you can continue your journey without this fantastic tool.
Canva is widely used by bloggers and graphic designers, both beginners and professionals, to create templates, printables, social media graphics, and other materials.
So, Canva is a fantastic design tool that anyone, even those with no graphic design experience, can use.
So, in this article, I’ll share my top Canva tips and tricks for designing faster in Canva.
1. Resizing proportionally
Perhaps many of you are already aware of the fact that resizing any element while holding the Alt or Option (for Mac) key allows you to resize that element or text proportionally from all four corners.
If you don’t understand what I’m saying, try resizing an element while holding the Alt or Option key and you’ll see what I’m talking about.

This will come in handy when you need to maintain the symmetry of the design, such as when you want to resize the square shape proportionally from all sides so that it doesn’t become a rectangle.
(You can resize elements or text proportionally from all four corners by holding down the Alt or Option (for Mac) key.)
2. Adding Shadows to Elements and Pictures
Canva recently added a feature that allows you to add shadows to elements or images.
How can that be done?
Simply select your image or element (not a Canva element) and click on the Effects tab at the top, followed by Drop under the Shadows tab.
This enables you to add shadows to your uploaded images.
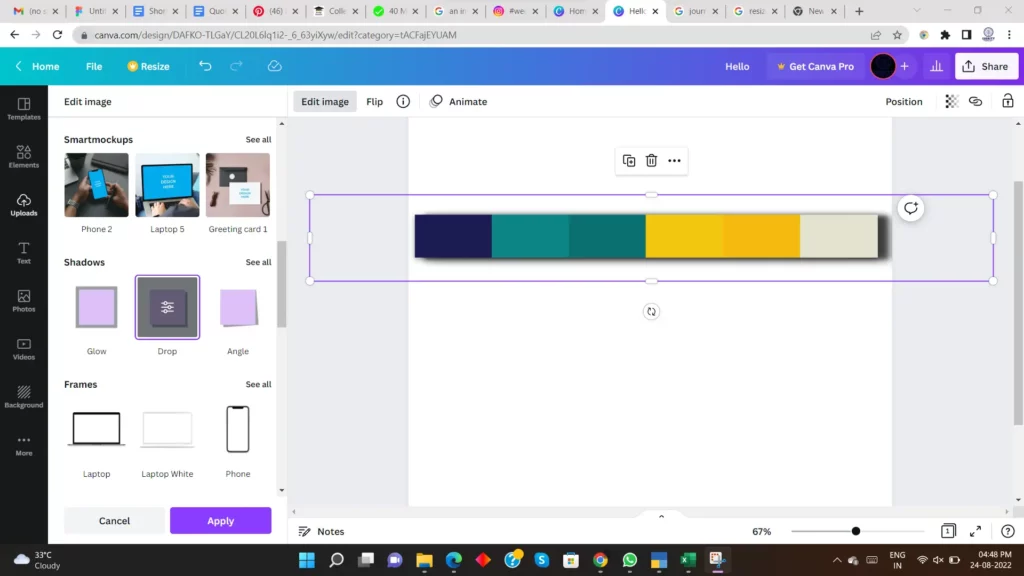
You can also experiment with shadow settings such as shadow direction, transparency, and so on by tapping the settings icon on the Drop Tab.
Note: This method cannot be used to add shadows to Canva Elements, but it can be used for self-uploaded graphics or media.
3. Using Canva Layers
Unlike Adobe software, Canva does not support visible layers.
Objects, text, and images, on the other hand, can be placed in front of or behind one another, forming an invisible layer.
It becomes extremely difficult to select an object or text layer that is behind another object layer because Canva will always select the topmost layer rather than the one you want to select.
To adjust these layers, go to the position tool and use the behind or forward tools to send the object to the back or forward.
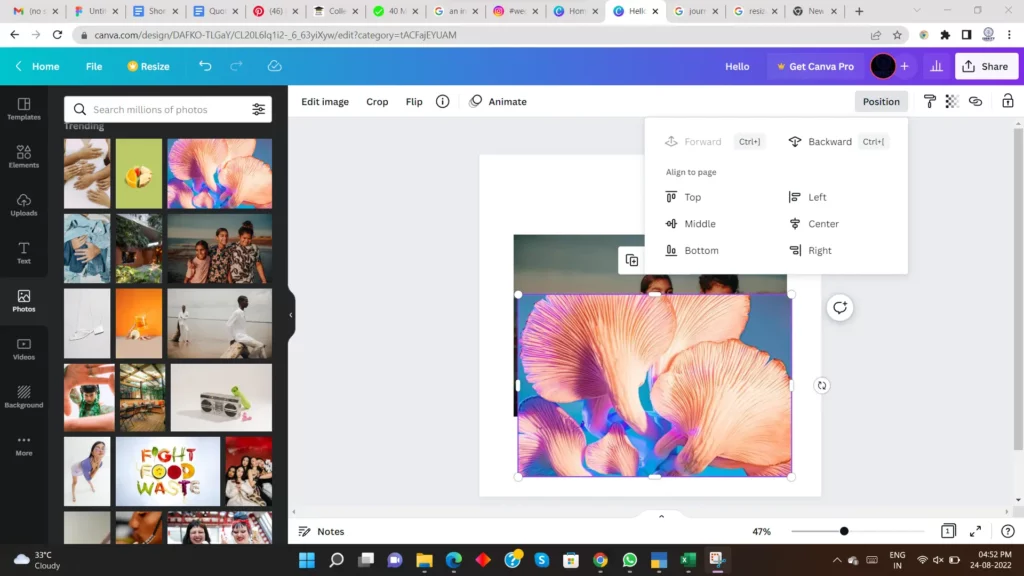
You can also use a shortcut by holding down the Ctrl or Command key on your keyboard and clicking through the objects; this will begin selecting the objects.
4. Elements and images should be equally spaced.
It is critical to maintain symmetry in your designs for them to appear professional.
Canva allows you to evenly space all of the selected elements vertically or horizontally with a single click.
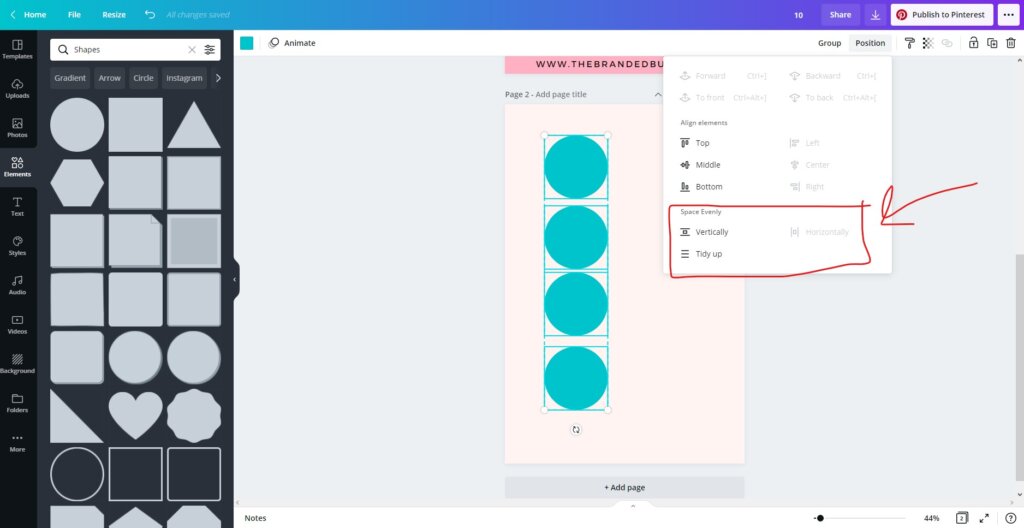
Simply select all of the elements and then click on the Position tab, where you will find all of the options for equally spacing your elements horizontally or vertically under the “Space Evenly” section.
You can use this feature for images, elements, text boxes, and so on.
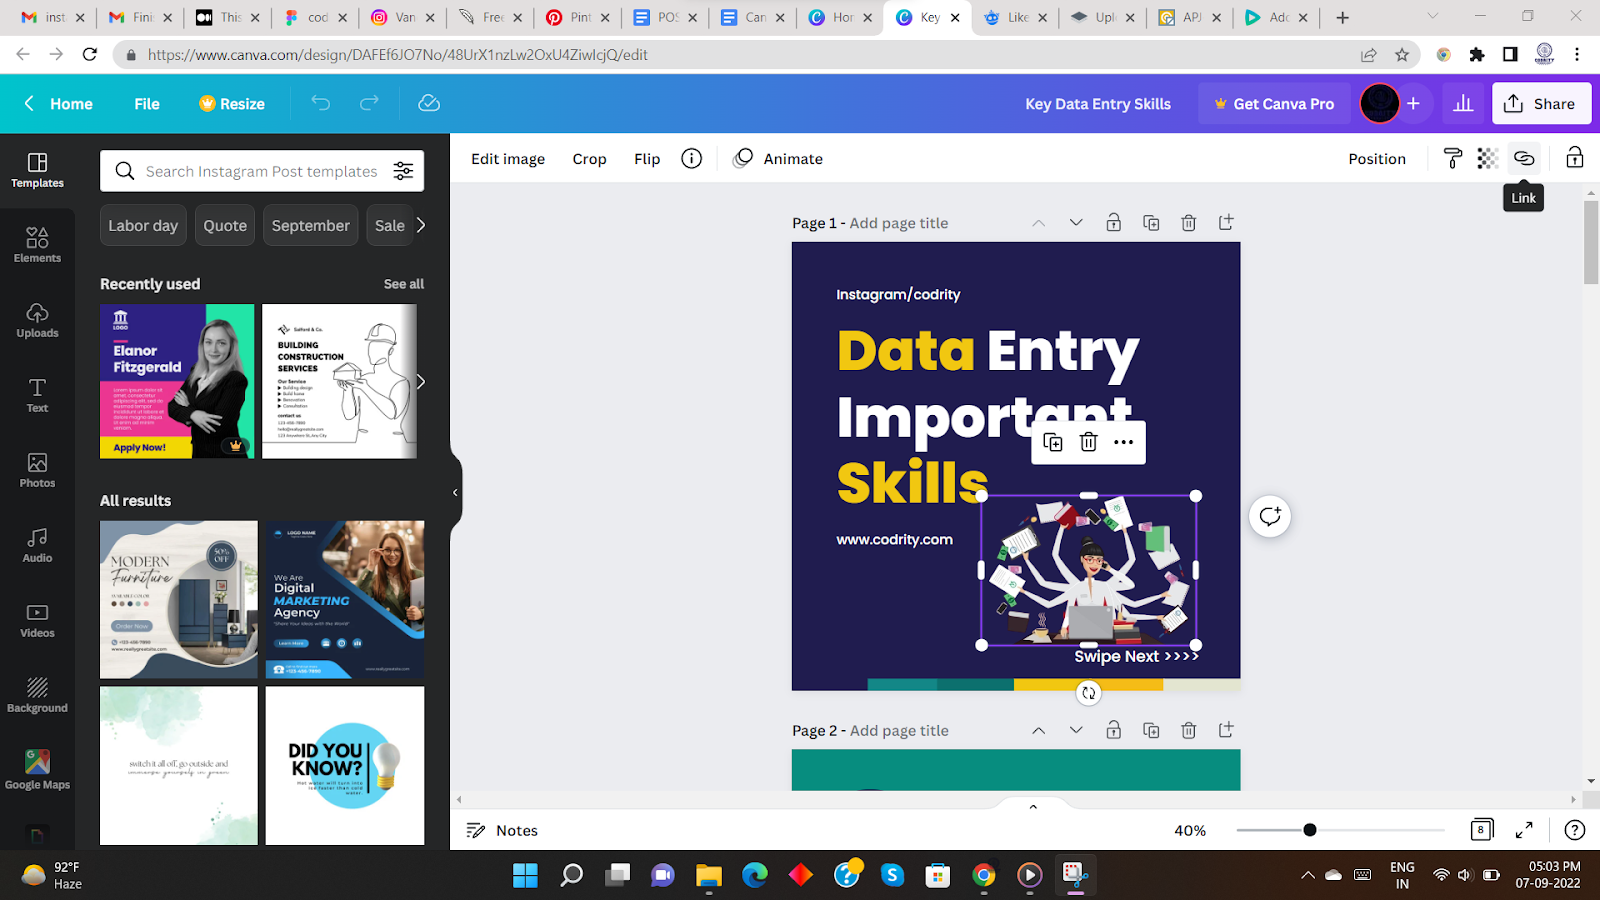
5. Using Hyperlinks in Canva
If you are creating PDFs or eBooks, or want to embed clickable buttons inside your PDFs for your subscribers, hyperlinks can be extremely useful.
This enables your customers to click on a specific element within a PDF and be directed to a URL that you have linked to that element.
That’s awesome!! RIGHT?
How to use hyperlinks?
Simply select the element, text, or image you want to hyperlink and press the link icon on the top right-hand side, then paste in your URL and tap apply.
When a user clicks on that specific element, he or she will be redirected to that URL.
6. Using Customizable Gradient Elements
Do you want to create a gradient effect without using Photoshop?
Simply search for the keyword “gradient” in the elements tab and filter the results to only show free elements.
You will see a wide range of free gradient elements that you can integrate into your design.

The best part is that these elements are customizable, so you can change the gradient colors.
7. Adding Cool Frames To Your Pics
There are so many ways to add frames to your photos in Canva, but this is my favourite.
This one allows you to quickly add frames to your photos, such as neon frames, laptop frames, mobile frames, and so on.
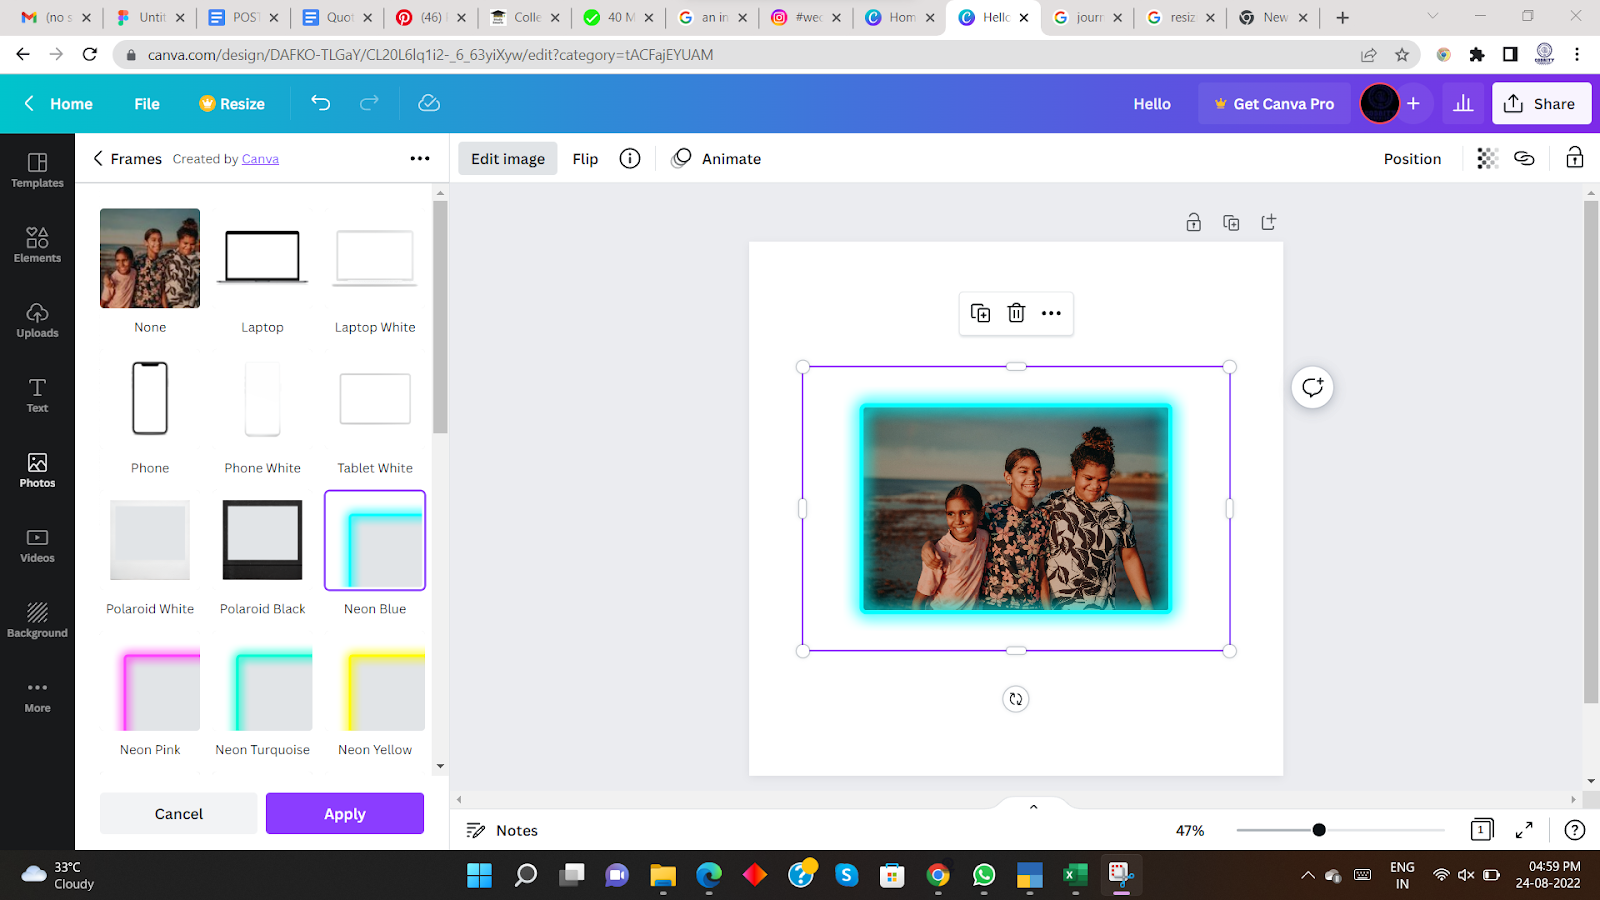
Simply click on your image, then on the effect tab on the upper left, and then select your desired frame from the frames section.
Can’t see the frame section?
You must first connect the Frame app in Canva by clicking on the effects tab, then Frames, and finally Connect.
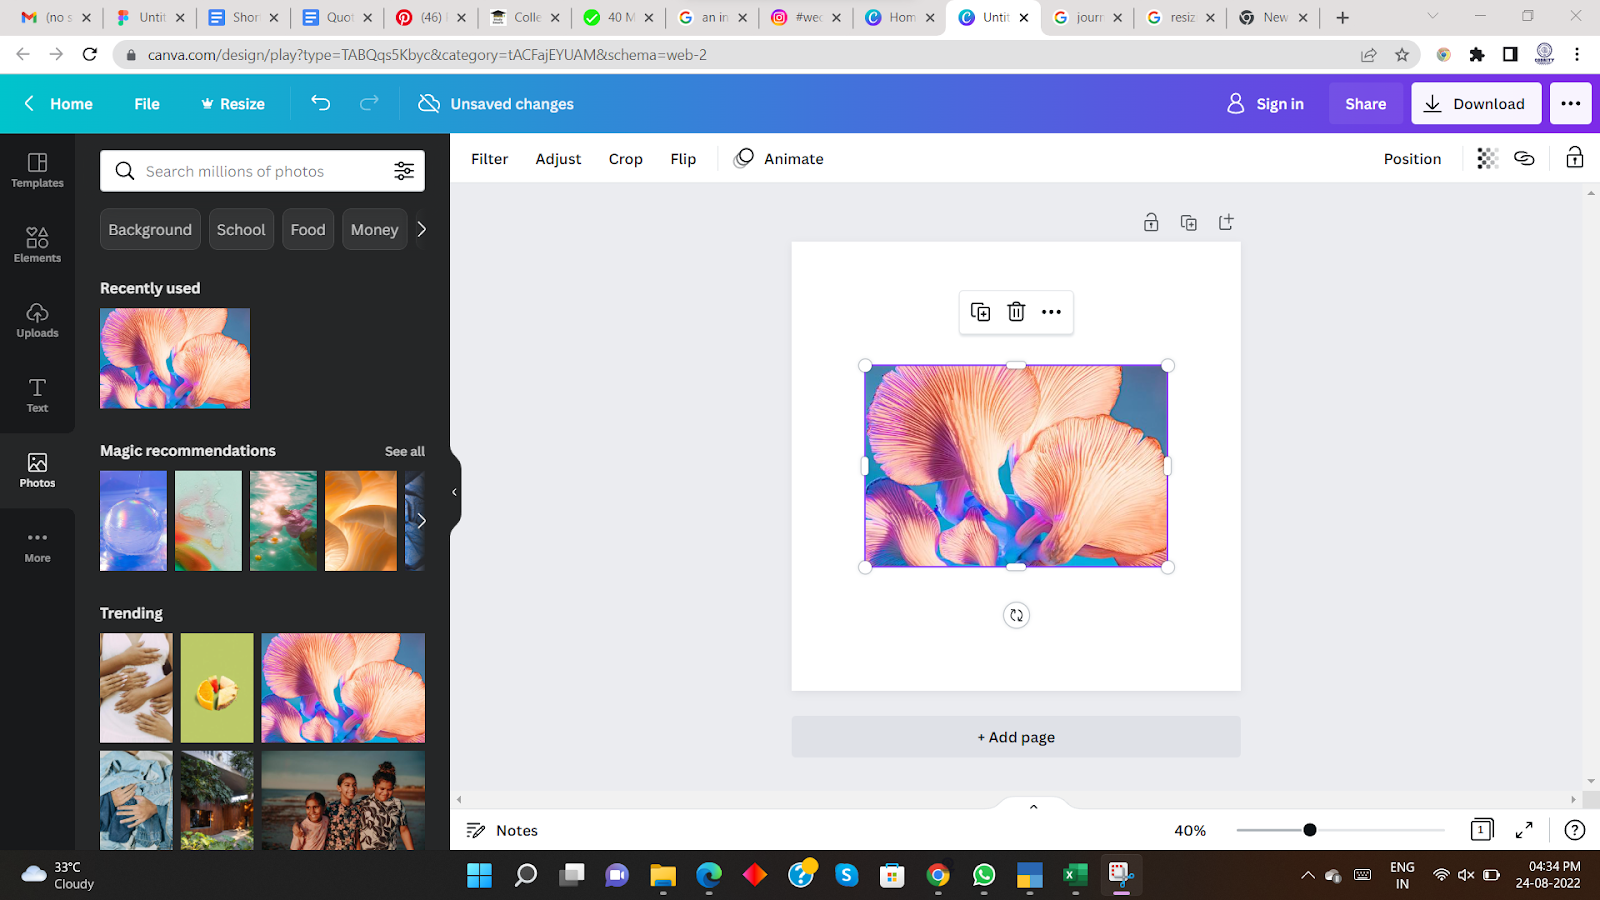
8. Using Canva’s Magic Resize
Canva Magic Resize is a fantastic function that allows you to quickly and simply resize your design templates for various social media sites.
This is quite useful because the sizes of various social media sites vary, and it might be tough to keep track of all those sizing needs.
Canva makes it easy for you by allowing you to scale your design templates to several different sizes with a single click.
Simply click the Resize icon in the upper left corner, choose the social media networks you wish to resize for, and then click “Copy and Resize.”
Your design will be scaled for all social media sites, and your canvas will be opened in a new tab.
Let me know in the comments section, Are these tips and tricks useful for you?
So, if you want to learn more tips and tricks then join our course.